
The new Titan IDE version, contains templates for creating Nintendo Wii games. The process is almost the same for creating Dreamcast and PC games, but you need to install a compiler for that platform first.
Before following this tutorial, you need to install the tool and learn the basics of how it works: Start with this tutorial.
It is also necessary that your Nintendo Wii has the Homebrew Channel installed.
With everything installed and configured, let’s install the Wii compiler!
- Inside the folder C:\cygwin\wii run the file devkitProUpdater-3.0.3
Follow the steps below to install the compiler:


With the compiler installed it is now necessary to install the libraries used by Titan IDE.
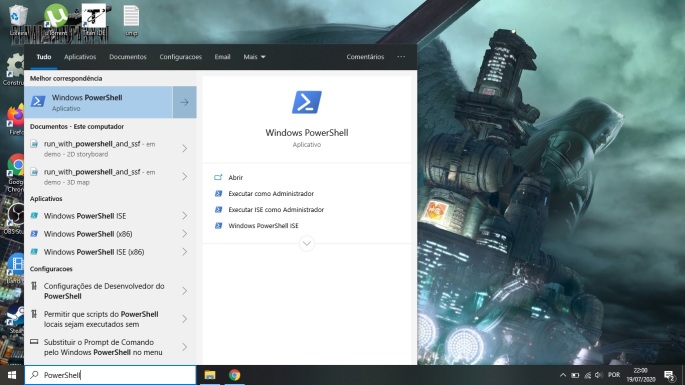
From the start menu open PowerShell:
With Powershell open, run the following commands:
pacman -S wii-sdl-libs and then ENTER on keyboard.

In this next phase just press ENTER on the keyboard:

y and then ENTER again:
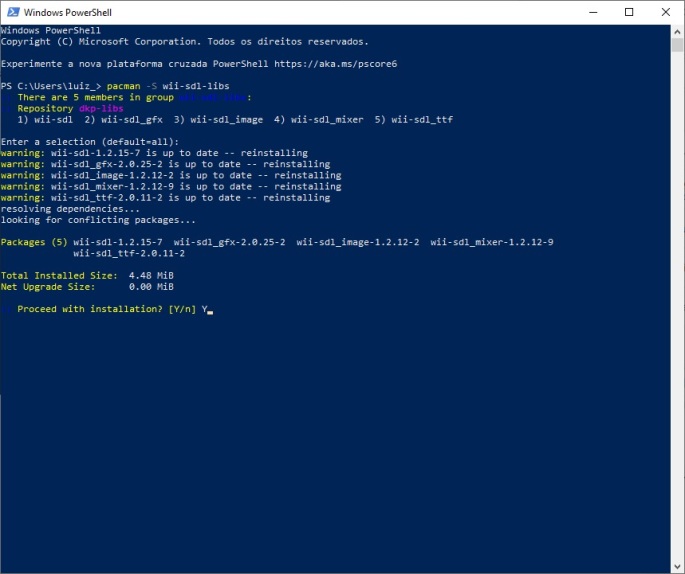
If all goes well you will see the installed items:

Now we are going to install the last library, type the following command and follow the same steps you did previously:
pacman -S ppc-libvorbisidec


You are ready to compile the Titan IDE templates!
Along with the other templates for Dreamcast and PC you will find the new templates for the Nintendo Wii.
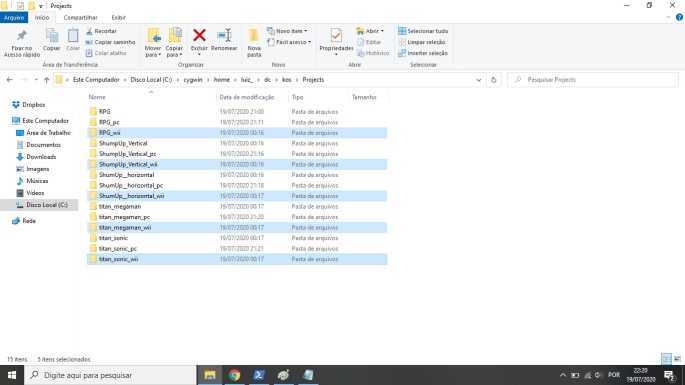
To compile any of these templates and generate the Wii executable, enter in one of these folders with PowerShell and run the make command. Example:
In PowerShell type cd C:\cygwin\home\(your user name)\dc\kos\Projects\titan_sonic_wii and press ENTER:

Now inside the folder type make and then press the ENTER key to compile the template.

If all goes well, you will see this screen, and the following files generated in your folder:


To test the template on the Nintendo Wii, insert your SD Card with the Homebrew Channel configured in the computer. Inside the apps folder, create the following folders:
Titan_Megaman, Titan_RPG, Titan_ShumUpHorizontal, Titan_ShumUpVertical, Titan_Sonic:


(rd, titan_sonic_wii.dol e titan_sonic_wii.elf)
When copying these files into the SD Card, rename the files titan_sonic_wii.dol to boot.dol and titan_sonic_wii.elf to boot.elf

Okay, now just insert the SD Card into the Nintendo Wii and test the template that will appear in the Homebrew Channel menu 🙂

Este trabalho está licenciado com uma Licença Creative Commons – Atribuição 4.0 Internacional.

I compiled it and it just gave me an Exception DSI occured screen. How do I fix this?
LikeLike